Day 1 - 7 June 2017
IKEA shopping.jpg
 |
| 1 min |
 |
| 30 Secs |
 |
| 5 Secs |
Drawing warm ups – timed portraits: 10 mins, 1 min, 30 secs, 5 secs.
The exercise below was illustrate that you need to choose your wording carefully - “design a paperclip” or “design something to hold paper together”
Design to hold paper together.jpg
The IKEA Challenge is a process of reverse engineering a seat bought from IKEA and reproducing it in CAD so that it can be placed into life-like images or advertising.
We had to photograph, measure and draw, analyse.
Reverse engineering 1.jpg
Reverse engineering 2.jpg
Our 30 minute task could take hours in school because we have accumulated knowledge – of how to measure, record things etc.
Product analysis – we used ACCESS FM
ACCESS FM.jpg
ACCESS FM chair.jpg
Jamie is using the IKEA Challenge to give us some of the technical drawing skills that will be required of our pupils. We did some isometric drawing (crating) of a stool.
Isometric drawing.jpg
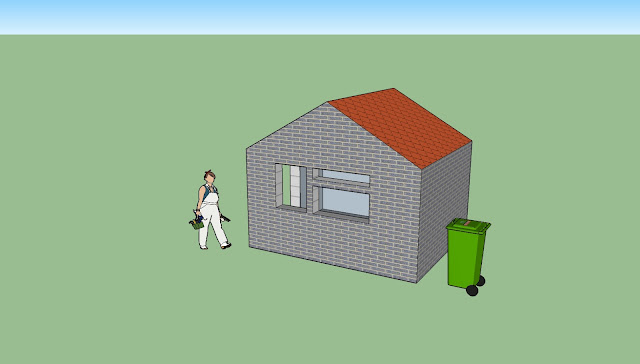
We are also having a go at CAD – firstly, trying out SketchUp
Shed.jpg
And then getting to know SolidWorks a little. We had to begin by forming a cuboid, then added features, and moved on to create our initial in 3D.
SolidWorks practice 1.jpg
SolidWorks practice 2.jpg
Day 2 - 8 June 2017
We started with some perspective drawing – a quick warm-up sketch of our chair. (I went back and added thin-line, thick-line technique to this.)
Chair warm-up sketch1.jpg
We had a go at 2 point perspective.
2 point perspective.jpg
A cylinder in 2 point perspective (without all the working lines)
Perspective cylinder.jpg
Using a worksheet with pre-drawn “crates” in perspective is a pretty effective way of getting ideas down quickly.
Perspective sketching sheet.jpg
(Competencies: C.5)
Going back to our reverse engineering of the IKEA chair, I created the leg and leg end using SolidWorks. Tash made the seat and Dave made the back, then we were able to assemble them into a whole chair.
IKEA leg SolidWorks.jpg
IKEA leg end SolidWorks.jpg
IKEA assembly 1.jpg
IKEA assembly 2.jpg
IKEA assembly 3.jpg
Once assembled, we added colour and rendered the chair. Then we could export the rendered picture to use it in Photoshop.
IKEA adding render.jpg
IKEA Challenge Rendered.jpg
IKEA rendered chair in Photoshop.jpg
Dave gave me a whistle-stop intro to using Alpha Channels to preserve the shadows surrounding an object (making a kind of “stencil” or “template” to include the shadows) but I'll need more practice if I'm ever going to use that myself.
Whilst working on our IKEA Challenge, Jamie gave us an exercise using pre-made parts to learn how to assemble items in Solidworks, by “mating” them in 3 dimensions.
Stool assembly exercise.jpg
IKEA stool pre-render.jpg
IKEA Stool rendered.jpg
(Competencies: C.1, C.5, C.13)


No comments:
Post a Comment
Note: only a member of this blog may post a comment.